Tips for Backcountry River Scouting
How to Get Started
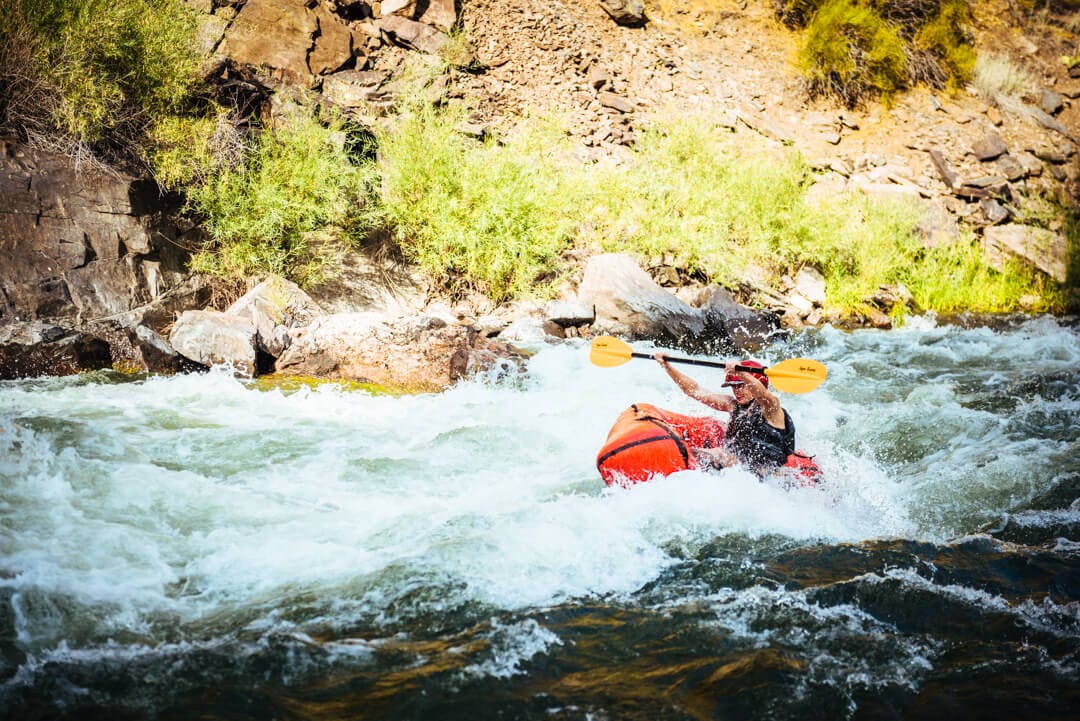
Backcountry River Scouting
Story by: Cameron Fenton
Photos: Jeremiah Watt
So you have a packraft, the necessary safety gear and some practice and training under your belt. You’re ready for a big, backcountry boating adventure, but, how do you plan a trip out to a river that you have no way of looking at until you crest the pass that drops you to your put in point?
Steps to help you get started.
Step 1: Figure out if anyone has paddled the river before
If a river looks fun to you, there’s a good chance that you’re not the first person to think about paddling it. Maybe someone has packrafted it before, or some enterprising kayakers have hauled or flown their hardshell boats in. Googling the name of the river and “packraft”, “paddle” or “kayak” might work, but it’s also helpful to get to know local paddling clubs or guiding operations where some might have information. If you’re heading somewhere new, packrafting and whitewater Facebook groups can also be a great source of information.
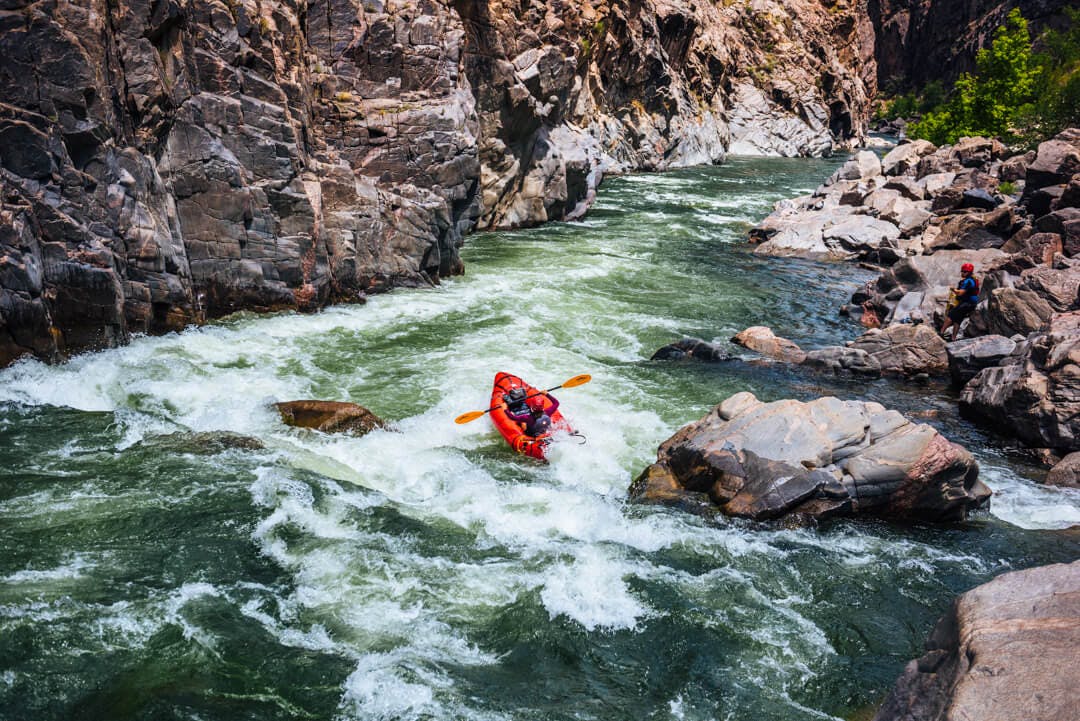
Step 2: Think about the geography and geology.
Rivers are typically formed either by a receding glacier or water moving across and through a landscape. Glacial valleys tend to be “U” shaped while water formed valleys and rivers tend to have more of a “V” shape. The shape and size of a river’s basin will impact things like flow, and depth, and can give you a sense of the kind of landscape you’ll be navigating.
Along with the shape of the river valley, the bed surface the river cuts through can give you some helpful information. Whether a river bottom us gravel, sand, granite or other rock formations can help you understand what kind of hazards might form in the river.
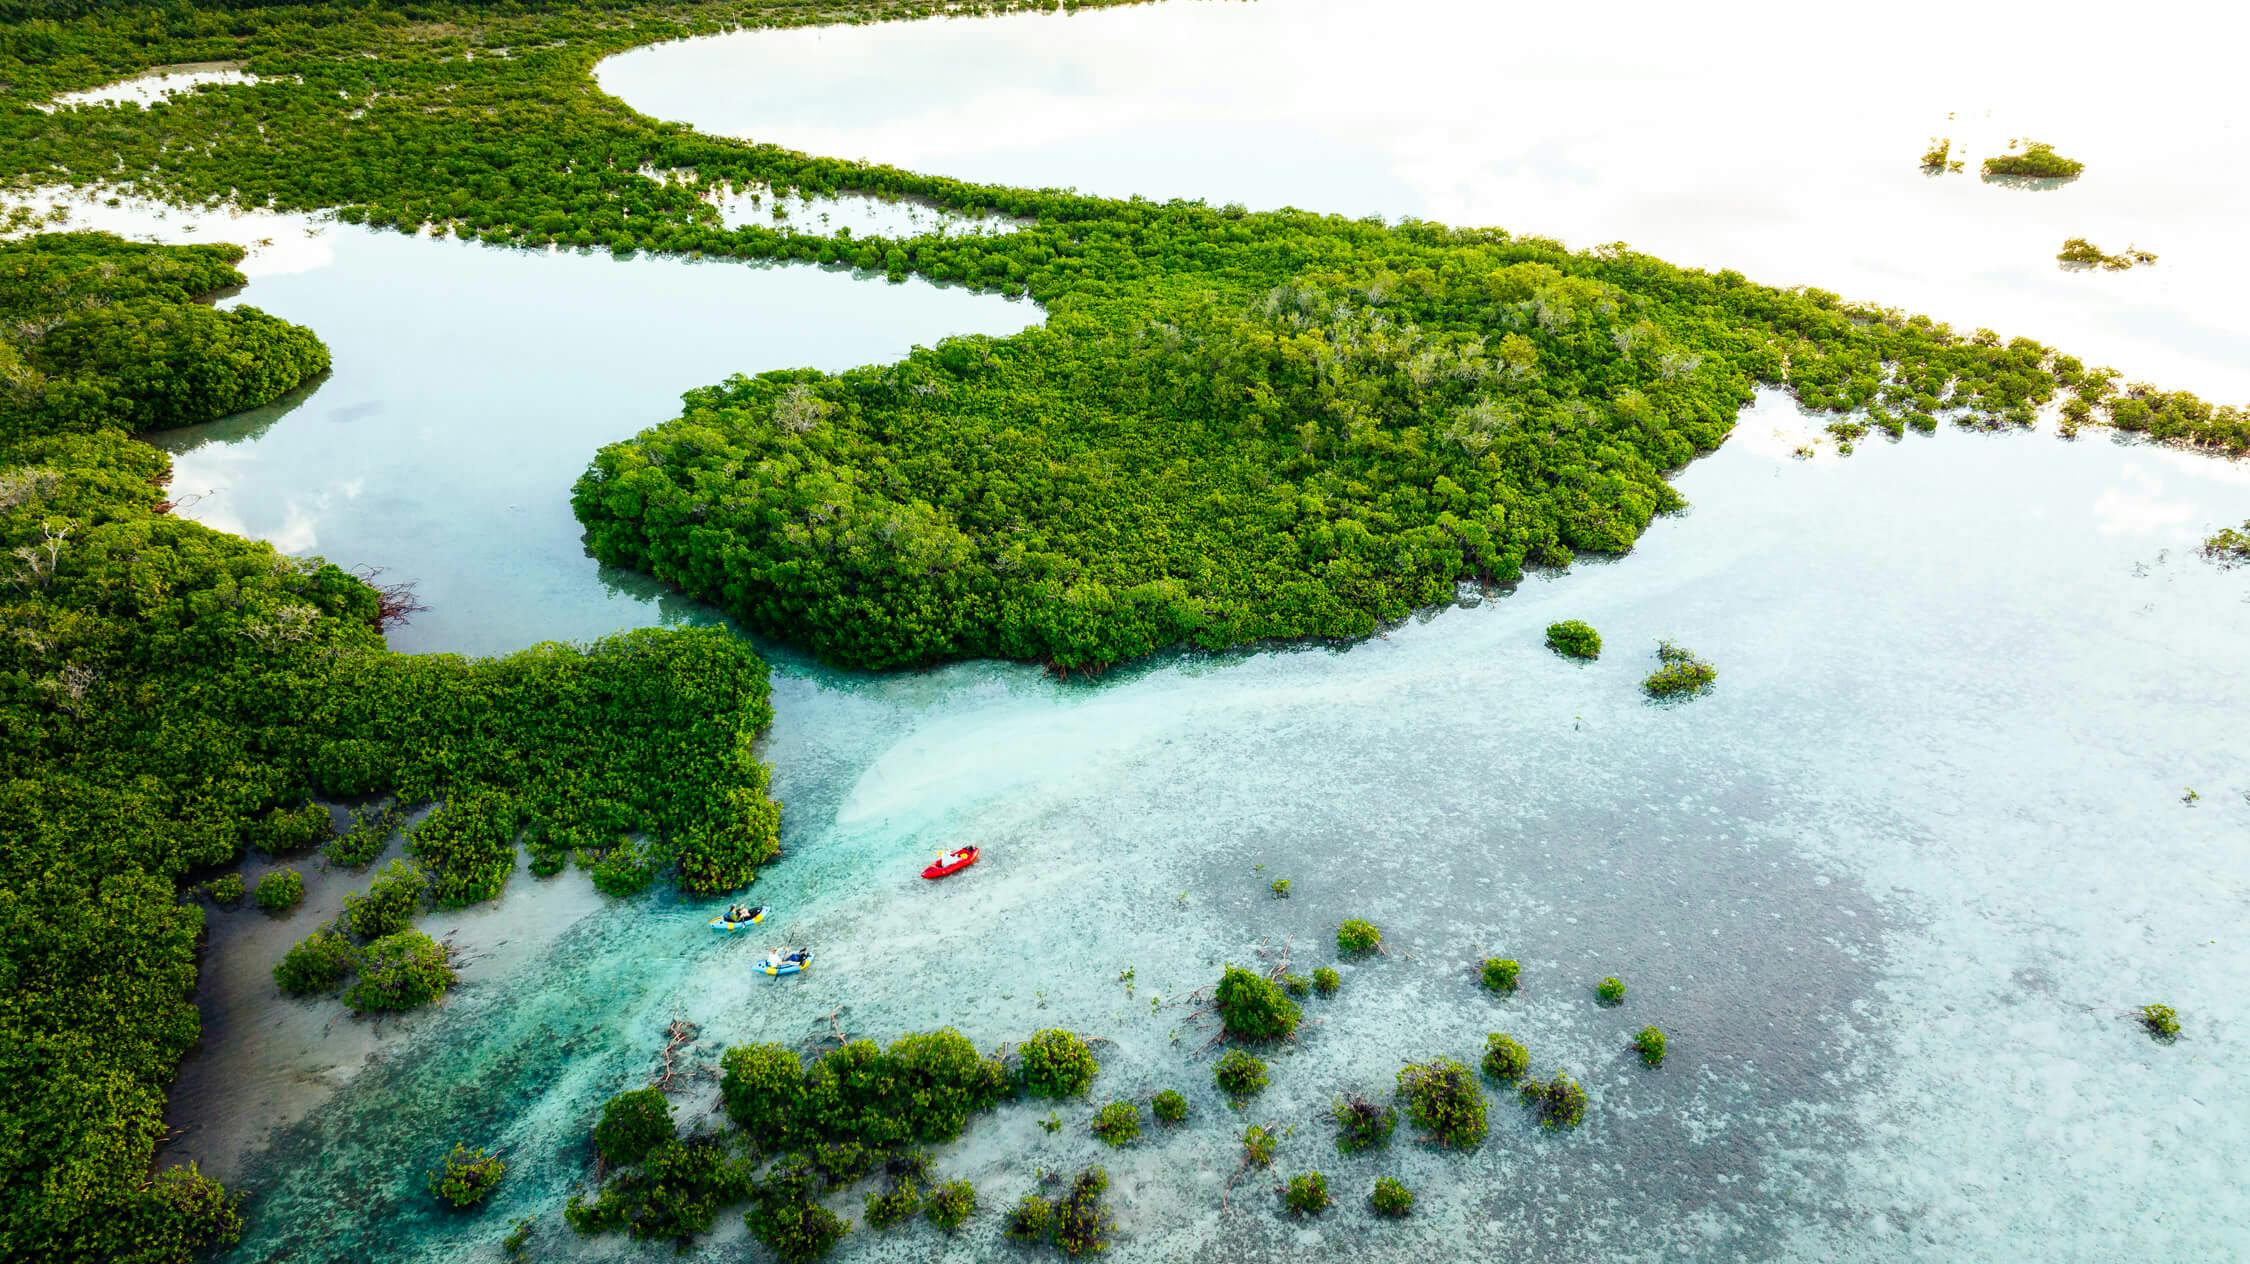
Last, you should have a sense of the landscape around the river. Is the river in the middle of a forest and likely to fill up with wood? Are the banks going to be choked with ice some of the year? Understanding the landscape will also give you a sense of the range of hazards your could be dealing with.
Step 3: Figure out what feeds the river
Rivers around the world are fed by either rain, snowmelt, glaciers or a body of water. Knowing which of these is the case for the river you plan to paddle will tell you two important things - the temperature of the water and when you can expect the river to be high or low.
Rain-fed rivers run highest after big rains and in rainy seasons. Snow-melt rivers run highest in the spring and early summer when the snowmelt is highest, depending on snowpack and weather. Glacial rivers tend to be highest in mid summer and will rise and fall with daily temperature fluctuations and sun exposure on the glaciers. Snow and glacial rivers tend to be the coldest. Rivers where rain, snow or glacial melt pick up a lot of silt and debris can be hard to scout because the cloudy water obscures hazards.
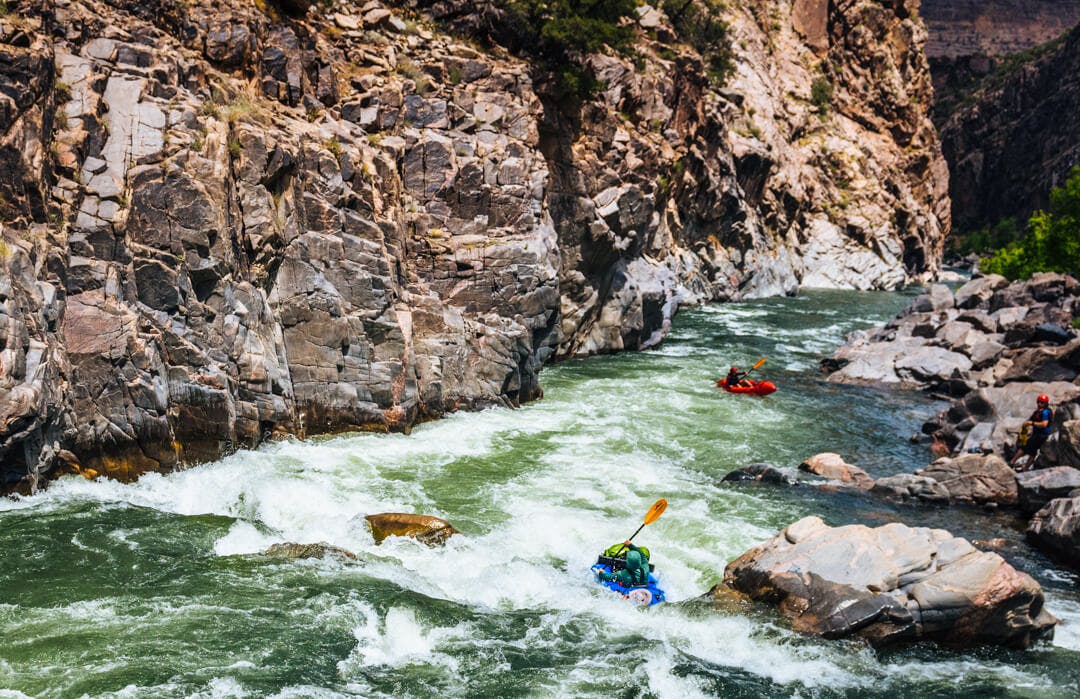
Step 4: Get Nerdy
Rapids are caused by two things, water moving downhill and objects in the water that displace the flow. Being able to understand these hazards before even starting a trip can be a huge help for making safe trip planning decisions, and thankfully these days we have some handy digital tools to help us.
Using Gaia, onX or another GPS planning tool that shows the elevation profile when you draw a route, draw a line down the section of river you plan to run. Try to track the river as best as possible, avoiding contour lines on the shore. This should give you a downward sloping line the opposite of if you were laying out the route up a mountain.
This profile will tell you how much elevation the river loses over a set distance, which should give you a sense of how fast and steep the river is. And, it will let you focus in on sections of the river with sharper drops in shorter distances, which are helpful spots to mark as potential rapids or waterfalls.
At this point, if you haven’t looked at Google Earth, FatMap or another satellite image of the river, this is a good time to zoom in and try to scout the river course. Some thighs to look for are visible whitewater, log jams, waterfalls and areas where the river narrows considerably, or even disappears, which can be evidence of a canyon.
Some programs will also include photos that users might have uploaded of these sections of river, which can be helpful as well. But, if you can’t find photos in there, you may be able to ask a local bush pilot or charter company if they have some, and sometimes you can even search on Instagram and find photos that might help you out.
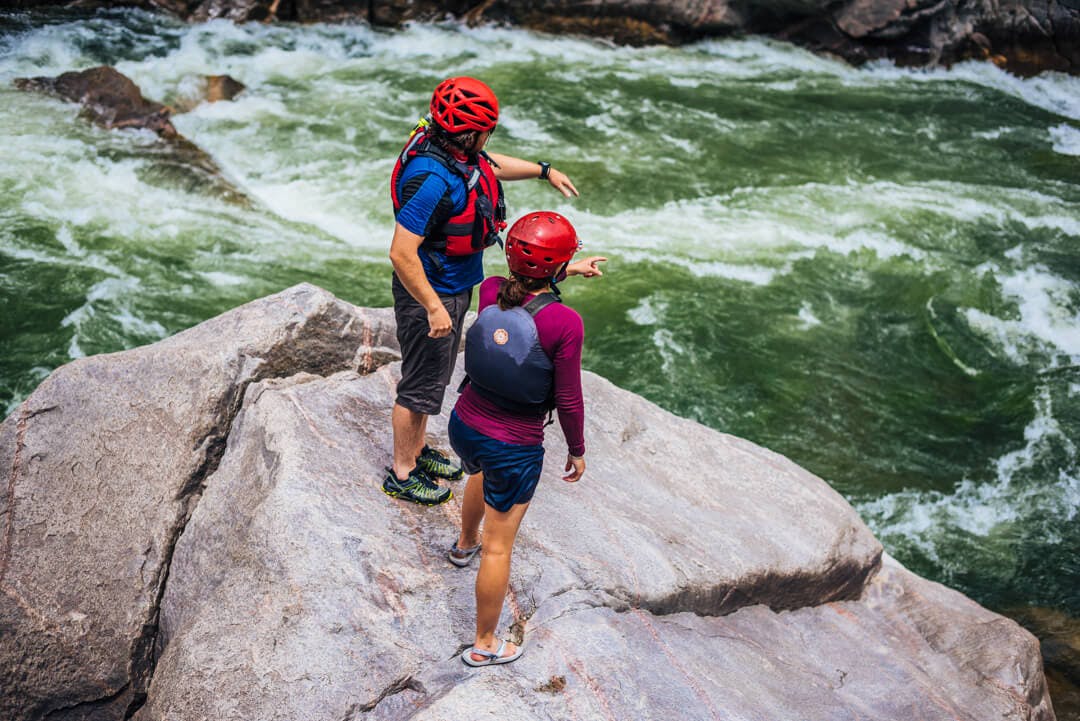
Throughout this it’s helpful to mark any expected hazards on your map or GPS track as a reminder to get out and scout these locations when you’re on the river and if you expect to see any of them on your hike.
Step 5: Figure out Plan B, C, D, etc…
Sometimes, even with this scouting, the river might not go, so it’s good to use your scouting as a chance to figure out what your alternate trip strategies might be. This is particularly important for sections of river that may have highly committing rapids, canyons or other hazards and may require significant course deviations to avoid.
Although May is culture of safety month, we want you to consider safety every month. Know before you go! We always recommend taking a swiftwater safety course, even if you've been on the water for years. Essential safety, rescue and paddling skills are learned from these super valuable courses. Not sure where to find them? We have a full list of companies that offer instructional courses per location, on our website. Also, consider checking out the resources on the American Packrafting Association's website helping you paddle safely (especially when planning your trips!).